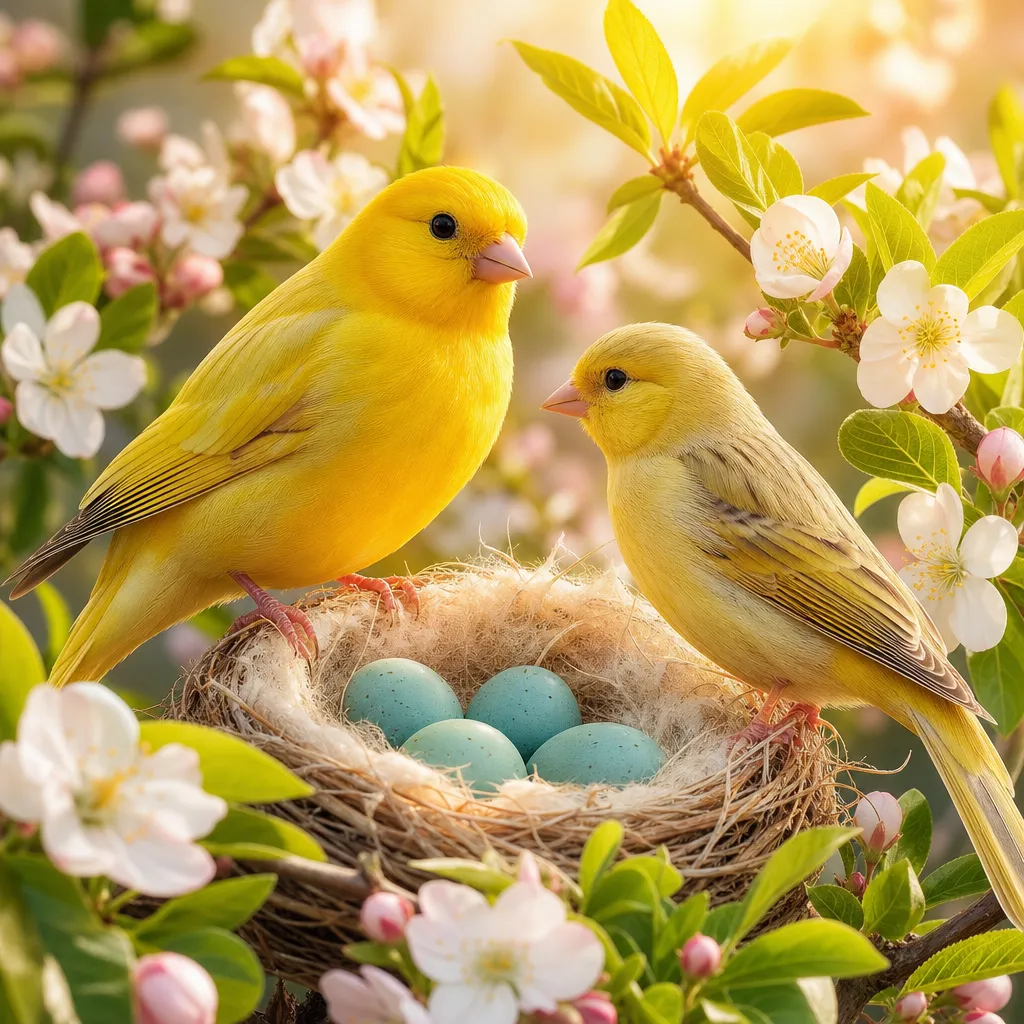
Canary breeding is the most important time of the year for every breeder. A well-planned season can produce healthy, quality chicks; a poorly managed one can lead to sterile eggs, weak chicks or even the loss of the hen. In this guide I'll walk you step by step through every phase of pairing.
In this guide:
Breeding Timeline
1. The Breeding Season
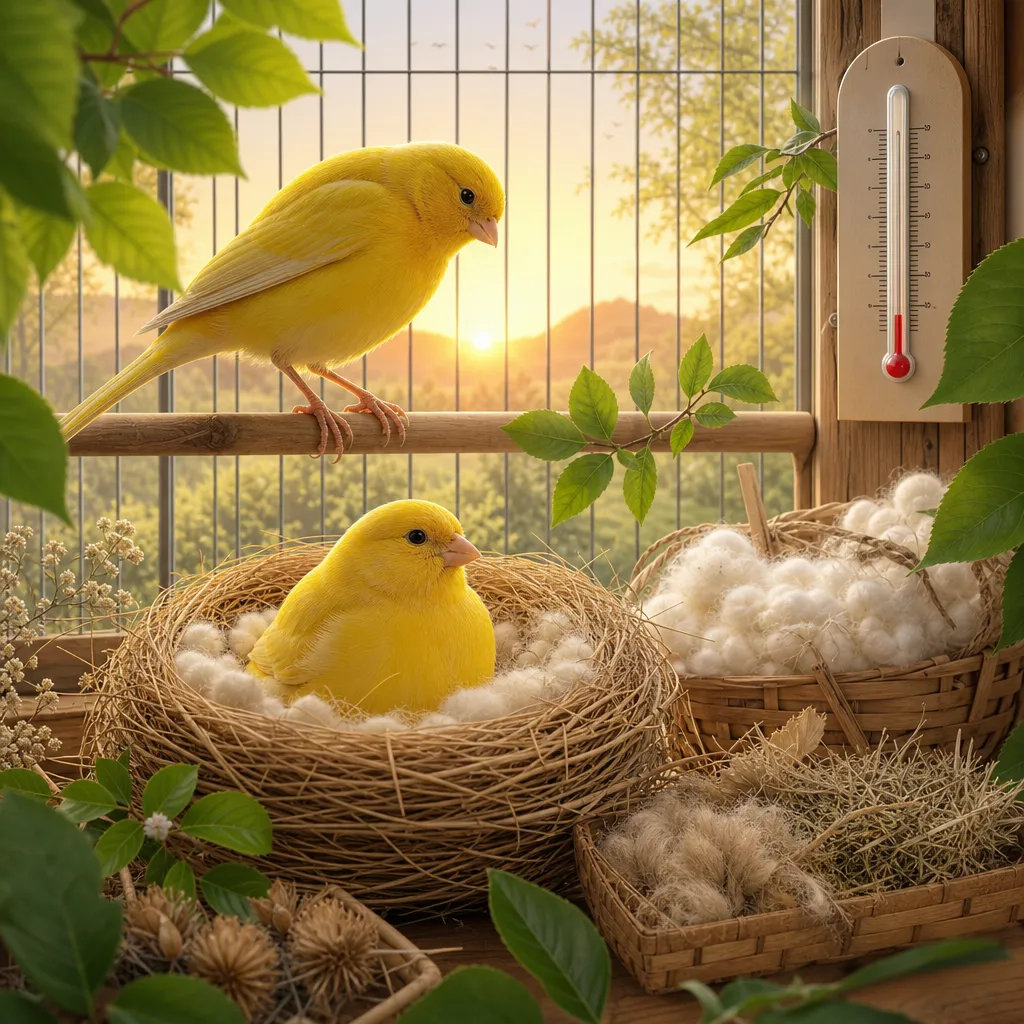
In the wild, canaries breed in spring, when days get longer and temperatures rise. In captivity, you can bring the breeding season forward by manipulating the photoperiod (hours of light).
When to start
- Ideal period: February — June
- Ambient temperature: 18-22°C
- Photoperiod: 12-14 hours of light per day
- Humidity: 50-60%
How many clutches?
- Maximum 2-3 clutches per season
- Never more than 3: the hen gets exhausted
- Interval between clutches: at least 4-6 weeks
- After the last clutch, separate male and female
Expert breeder's trick: To synchronize all pairs, gradually increase daylight hours by 15-20 minutes per week starting in January. In 6-8 weeks you'll reach the ideal 12-14 hours and all pairs will enter breeding at the same time.
2. Preparing the Pair
2.1 Pre-breeding diet
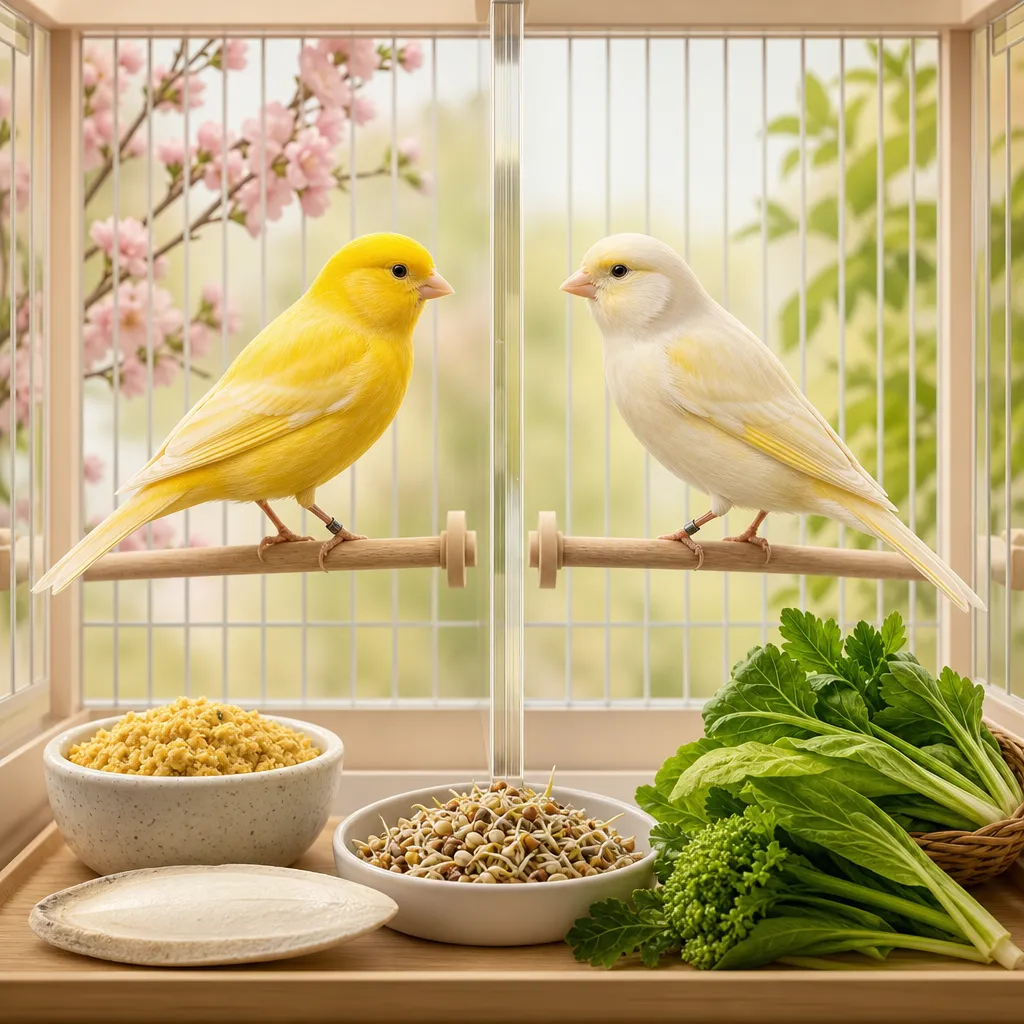
About 3-4 weeks before forming pairs, start a specific diet:
- Soft food — Every day, base for egg production
- Sprouted seeds — Rich in vitamin E (essential for fertility)
- Cuttlebone and grit — Calcium for eggshells
- Fresh vegetables — Romaine lettuce, dandelion, chicory (not iceberg: low nutrition)
- Fruit — Grated apple every 2-3 days
2.2 Recognizing male and female
Sexual dimorphism in canaries is not always obvious. Key signs:
- Male: sings elaborately, cloaca shaped like a small protruding cylinder during breeding season
- Female: chirps simply (if it sings), cloaca flat and rounded; only the female builds the nest
- When in doubt: the nest test — only the female starts carrying nesting material
2.3 The breeding cage
- Minimum dimensions: 60x40x40 cm
- Place a divider between male and female for the first 3-4 days
- Add the external nest (plastic or wicker) with felt or synthetic padding
- Provide nesting material: coconut fiber, dry grass, jute threads
- Place the cage in a quiet area, away from drafts and loud noises
3. Mating
After 3-4 days with the divider (during which male and female see and hear each other but don't touch), remove the divider. The male will immediately begin intense courtship: he sings, puffs up his feathers, offers food to the female (beak feeding).
The actual mating lasts a few seconds and is repeated several times a day in the first 2-3 days. Don't disturb the pair at this stage: loud noises or sudden movements can interrupt the ritual.
Warning: If after 5-7 days the female shows no interest or is attacked by the male, immediately separate the pair. Not all pairs are compatible. Try with different partners.
4. The Nest and Egg Laying
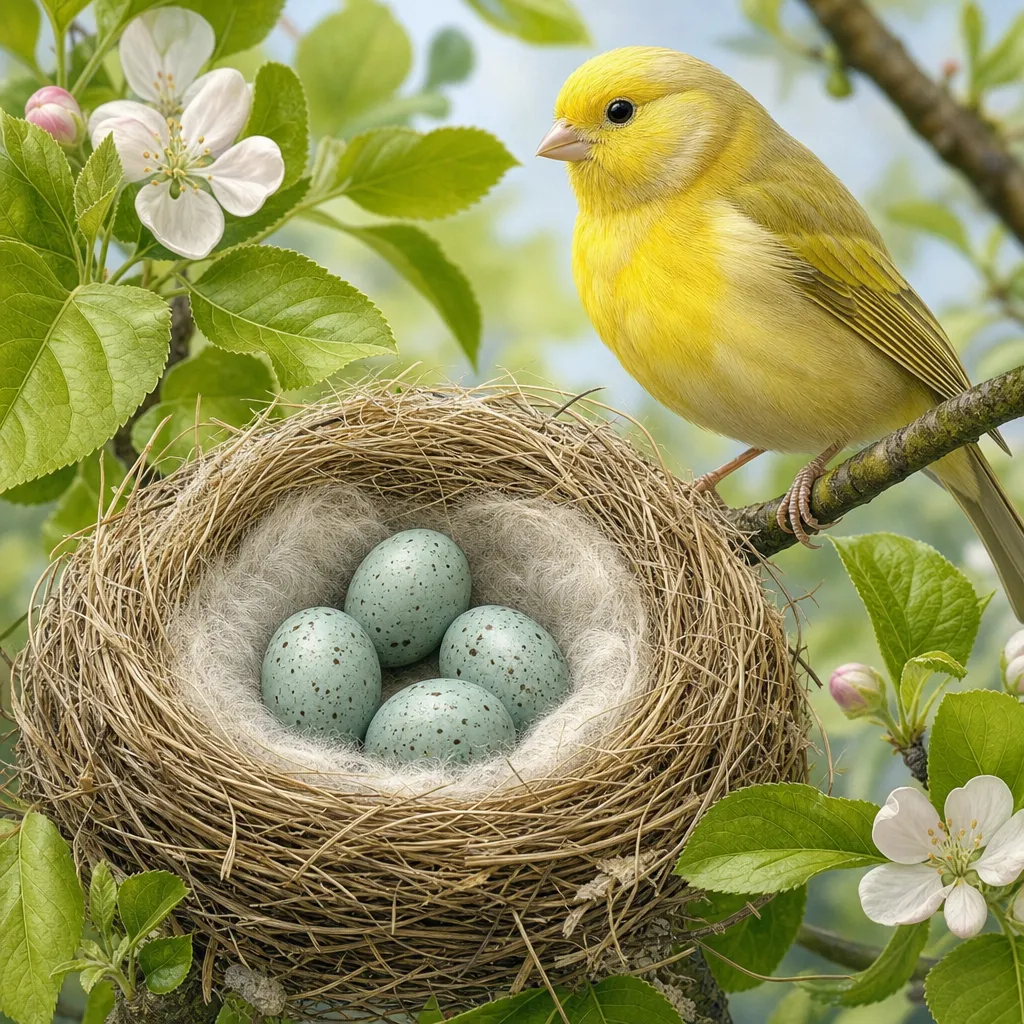
The female starts building the nest 1-2 days after mating. It's an instinctive behavior: she carries material into the nest, shapes it with her chest and lines it with feathers or soft fibers.
Egg laying
The female lays 1 egg per day, usually in the early morning, for a total of 3-5 eggs per clutch. Eggs are bluish-green with small brown speckles.
The substitution trick
To ensure all chicks hatch on the same day (avoiding the first-born being much larger than the last), use this technique: every day, replace the freshly laid egg with a fake egg. Store the real eggs in a container with sawdust or padding, turning them once a day. When the female has laid the last egg, put all the real eggs back in the nest. Synchronized incubation will start and chicks will all hatch within 24 hours.
5. Egg Incubation
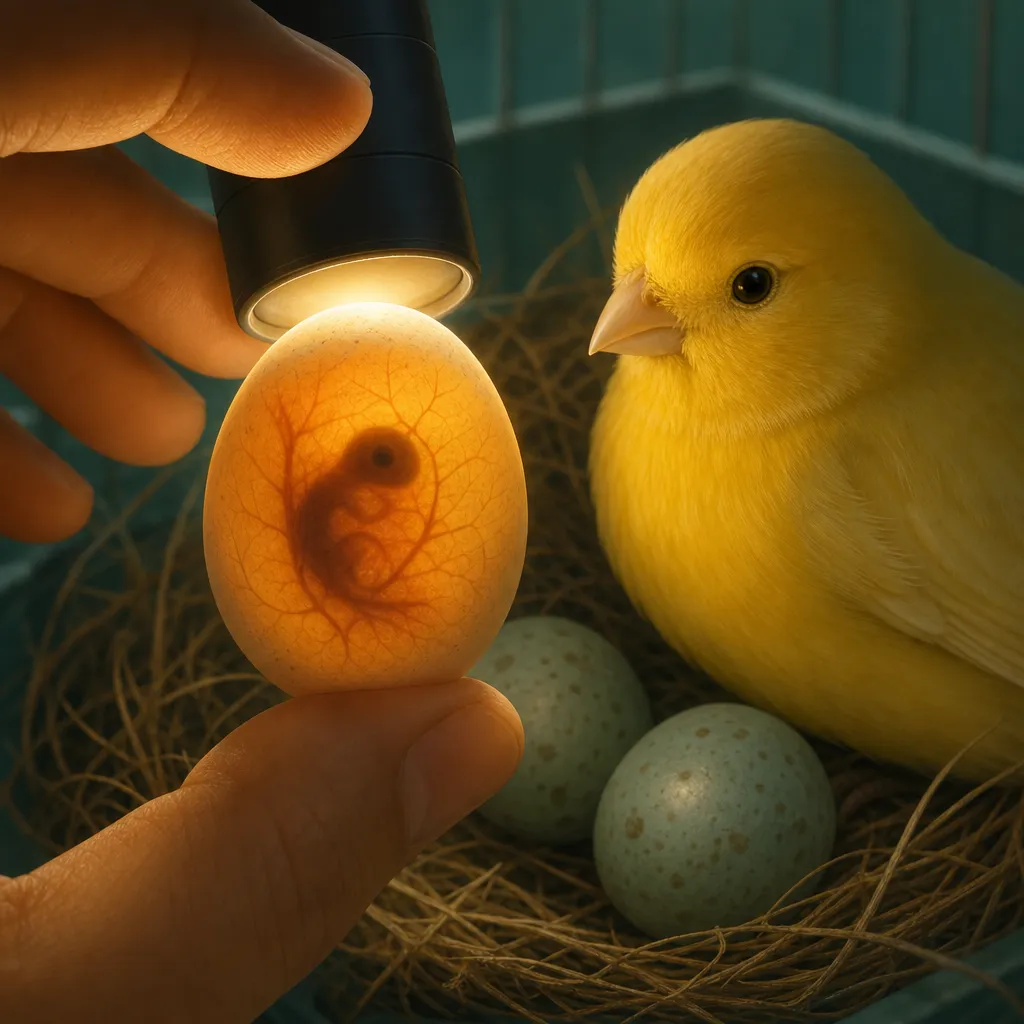
Incubation begins when the female has laid 2-3 eggs (or immediately if you use the substitution trick). Only the female incubates; the male feeds her or, in some pairs, replaces her for short periods.
Candling
On the 5th-7th day of incubation, use an egg candler (or an LED flashlight in a dark room) to check if eggs are fertile. A fertile egg shows a network of blood vessels and a dark embryo. A sterile egg (called "clear") appears transparent and uniform. Remove sterile eggs after 10 days.
Incubation duration
Hatching occurs after 13-14 days of constant incubation. The female leaves the nest only to drink, eat and defecate (1-2 times a day). No need to intervene: it's all natural. Just make sure she always has fresh food and water within beak's reach.
6. Hatching and the First Days of Life
On the 13th-14th day, chicks begin to break the shell with the egg tooth (a protuberance on the beak that falls off after hatching). The process can last from a few hours to a full day. Never help the chick out: you could damage still-active blood vessels.
The first days
Chicks are born blind, naked and completely dependent. Here's what to check:
- Full crop — If you see the crop swollen and yellowish (full of regurgitated soft food), the female is feeding correctly
- Hen crushing chicks — Rare but possible. If you notice crushed chicks, consider hand-feeding
- Fresh soft food every day — Essential: the female uses it to feed the chicks
- Clean nest — Chicks defecate in the nest. Change the felt after 7-8 days if it gets too dirty
Parent feeding during rearing
During the 3-4 weeks of chick rearing, parents need an even richer diet:
- Soft food 2-3 times a day
- Grated hard-boiled egg — Exceptional protein source
- Sprouted seeds, fresh vegetables, cuttlebone always available
- Fresh water changed daily
7. Chick Weaning
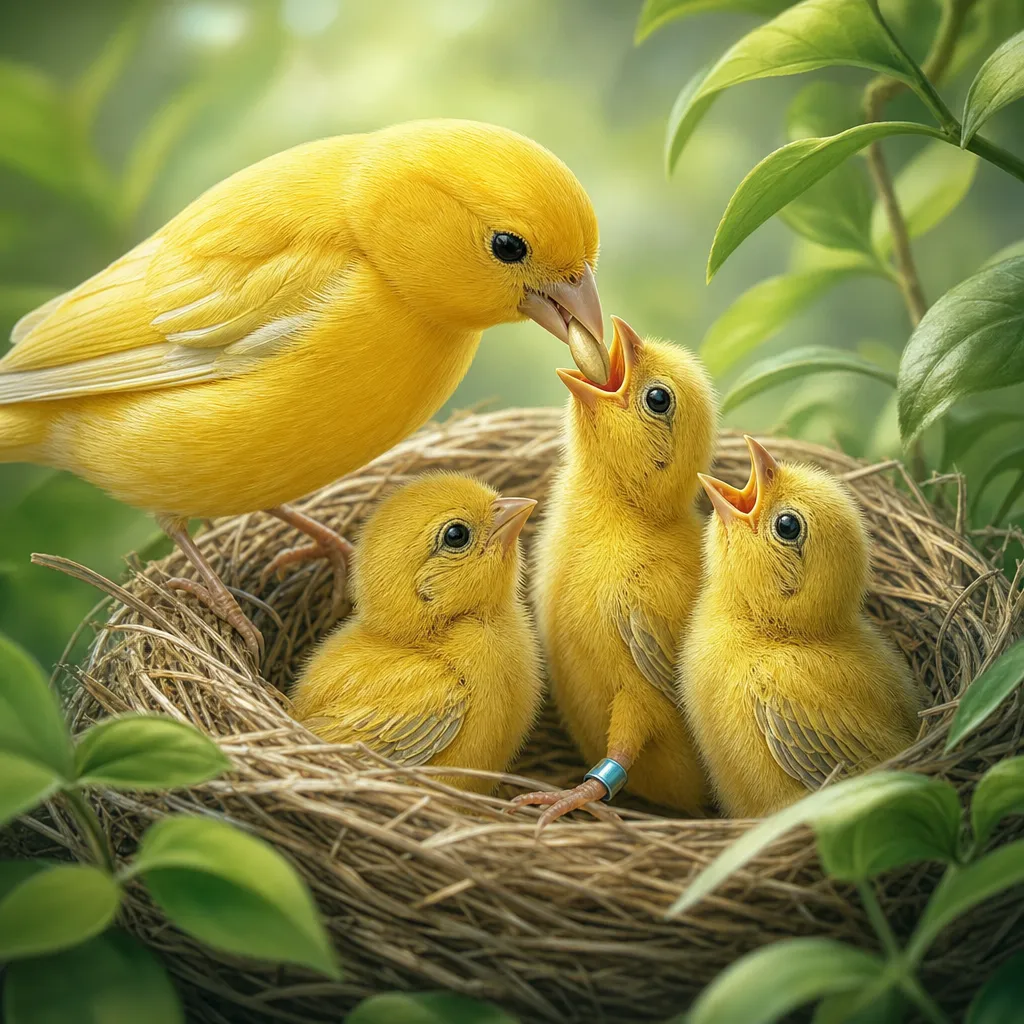
Chicks start leaving the nest around 18-21 days. They are not yet independent: they continue to be fed by parents for another 1-2 weeks.
Ringing
Between the 5th and 7th day of life, apply the identification ring (FOI or COM). It's the right time: the foot is still flexible and the ring won't slip off. After the 9th day, the foot is too large and the ring no longer fits.
Separation
At 30-35 days, fledglings are completely autonomous. Move them to a separate aviary (weaning cage). Continue providing soft food and easy-to-shell seeds (canary seed, millet). Water must be shallow (drowning risk in the first days alone).
8. Common Problems and Solutions
| Problem | Probable cause | Solution |
|---|---|---|
| Sterile eggs | Male too young/old, diet poor in vitamin E, incompatibility | Change male, supplement sprouted seeds, check age (min 10 months, max 5-6 years) |
| Hen not incubating | Stress, external disturbances, nest in wrong position | Move cage to quiet area, partially cover with cloth, reduce noise |
| Dead chicks in nest | Cold, insufficient feeding, high inbreeding | Check temperature (min 18°C), increase soft food, verify COI with GenHub |
| Hen plucks chicks | Protein or mineral deficiency, stress, instinct to build a new nest | Increase hard-boiled egg and cuttlebone, remove excess nesting material |
| Egg binding | Calcium deficiency, hen too young, egg too large | Emergency! Calcium drops in beak, warm steam, if not resolved in 2 hours → vet |
| Aggressive male | Excessive territoriality, pair incompatibility | Separate immediately. Retry with divider longer or change male |
9. Choosing the Right Pair: The Role of Genetics

A successful pairing is not just a matter of technique: it's above all a matter of genetics. Pair choice determines:
- The colors and phenotypes of chicks
- The health and vigor of offspring
- The degree of inbreeding (COI)
- The probability of transmitting recessive mutations
With GenHub you can simulate the pairing before putting the pair together. The Bayesian engine analyzes the genotype of male and female and calculates:
- The phenotypic probability of every possible combination
- The inbreeding coefficient (COI) of future chicks
- The statistical distribution of mutations in offspring
- Genetic compatibility based on family tree up to 10 generations
Try GenHub free tools
Simulate genetic pairings and calculate inbreeding, then sign up to unlock the full breeding software.
10. Breeding Season Checklist
Before the season (January)
- ☐ Gradually increase photoperiod (15-20 min/week)
- ☐ Start pre-breeding diet (soft food + sprouted seeds)
- ☐ Clean and disinfect cages, nests and perches
- ☐ Plan pairs with GenHub (genetic simulation)
- ☐ Check supply of rings, soft food, cuttlebone
During the season (February-June)
- ☐ Form pairs with divider for 3-4 days
- ☐ Provide nesting material (coconut fiber, jute)
- ☐ Candle eggs on 5th-7th day of incubation
- ☐ Ring chicks on 5th-7th day
- ☐ Register births, pedigree and phenotypes on GenHub
- ☐ Fresh soft food 2-3 times a day
- ☐ Separate fledglings at 30-35 days
After the season (July-August)
- ☐ Separate males and females
- ☐ Gradually reduce photoperiod
- ☐ Maintenance diet (less soft food)
- ☐ General health check of all subjects
- ☐ Update pedigree database on GenHub
Also read: COI / inbreeding calculator · Canary Genetics Guide · Canary Breed Guide · Feeding Guide · Disease Guide
Have questions about breeding? Contact us for personalized advice.
Content created with AI support and human editorial review.
Simulate genetics before you pair:
Free genetic predictor →