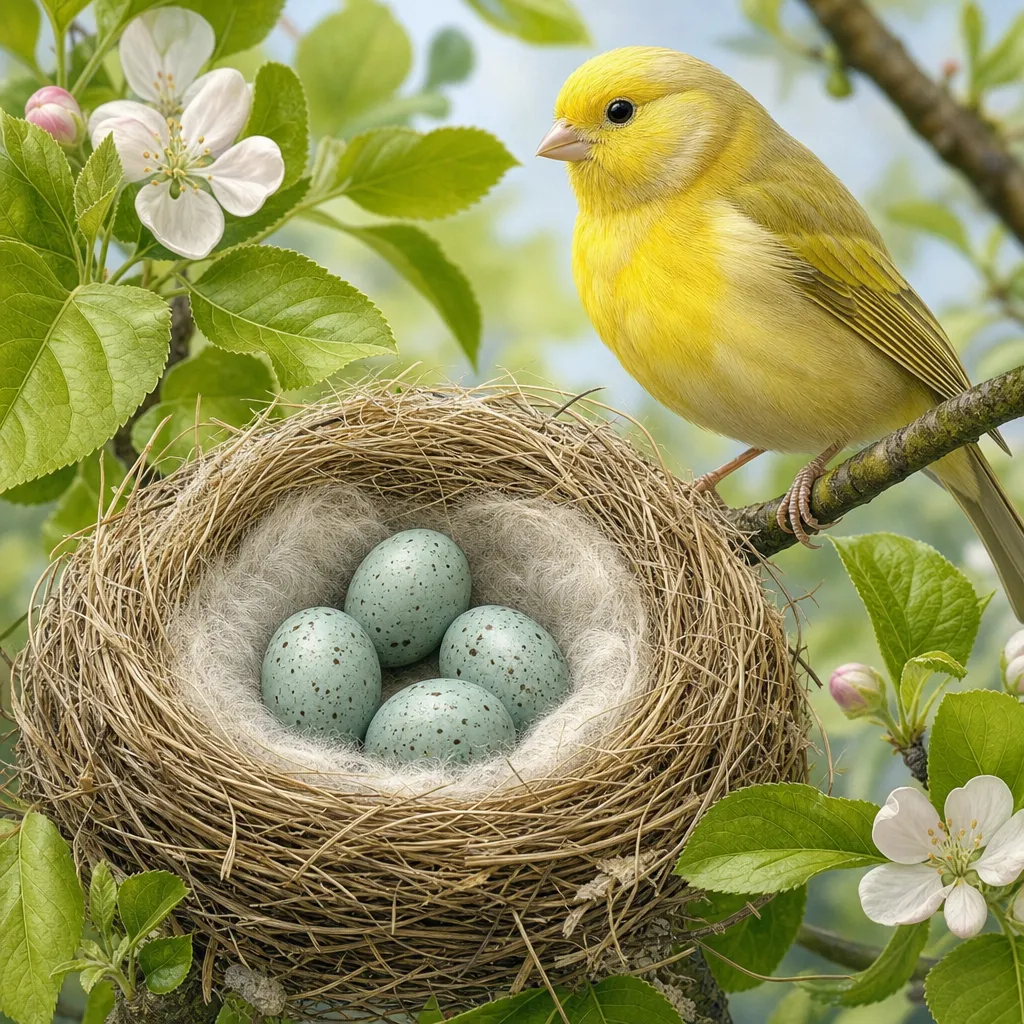
Canary eggs are the heart of the breeding season. Understanding fertility, incubation timing and warning signs helps you avoid lost clutches and unnecessary stress on the hen. This guide takes you from laying to hatch, with concrete tips for breeders and a direct link to the GenHub incubation calculator.
In this guide:
Typical egg timeline
1. Fertility: when eggs are “good”
A fertile egg comes from successful mating between a cock and hen in breeding condition. Fertility is not visible to the naked eye at laying: you need candling after a few days of incubation.
Supports fertility
- Compatible pair already used to each other (divider 3–4 days)
- Cock singing and actively courting
- Photoperiod 12–14 hours, temperature 18–22°C
- Pre-breeding diet and cuttlebone
- Suitable age (avoid the first months of life)
Reduces fertility
- Lazy, aggressive or very old cock
- Cold, extreme humidity, stress and disturbance
- High inbreeding or weak birds
- Vitamin and calcium deficiency
- Too many consecutive clutches without rest
Before pairing, plan the genetic match: see the pairing guide and the genetics guide. If you are unsure of the sex, also check song and sexing.
2. Laying and nest management
The hen usually lays one egg a day, preferably in the morning, up to a clutch of 3–5 eggs (sometimes 6). Many breeders prefer serious sitting from the last or second-to-last egg, so chicks hatch closer together.
What to do during laying
- Provide nesting material (coconut fibre, jute) and a clean, stable nest.
- Do not handle eggs unless needed; if you mark them, use a soft pencil and a discreet mark.
- Some breeders remove eggs as they are laid (dummy eggs) and return them with the last one: this reduces the age gap between chicks.
- Check that the hen does not break or eat eggs (stress, calcium deficiency, disturbance).
Practical tip: If you remove eggs, store them at cool room temperature (not in the fridge), in a stable position, and put them back in the nest before true incubation starts. Note laying dates and incubation start: you will need them for candling and for the incubation calculator.
3. Candling on day 6–7
Candling is checking the egg against a light. The best time in canaries is around day 6–7 of incubation: late enough to see blood vessels, early enough to remove clear eggs without wasting days of sitting.
How to do it
- Choose a semi-dark room and a small LED light (torch or candling lamp).
- Hold the egg gently, without shaking, and light from the pole opposite the air cell.
- Limit time out of the nest (a few seconds per egg) and put fertile eggs back immediately.
| Appearance | Meaning | Action |
|---|---|---|
| Network of vessels / dark shadow | Fertile egg developing | Leave incubating |
| Transparent / uniform pale yellow | Clear egg (infertile) | Remove |
| Blood ring / static spots | Early dead embryo | Remove; check the cause |
| Opaque without clear structure | Unclear / too early | Recheck after 1–2 days |
Do not worry if on day 5 you “cannot see everything yet”: better wait until day 6–7 than stress the hen with repeated checks.
4. Incubation: 13–15 days
In canaries, natural incubation lasts on average 13–14 days, with a typical range of 13–15 days depending on temperature, humidity and sitting regularity. If you use an artificial incubator (special cases, abandoned eggs, rescue), parameters must be monitored carefully.
Natural incubation
- Hen steady on the nest
- Cock feeding her (if compatible)
- Quiet environment, 18–22°C
- Reasonable ambient humidity (≈50–60%)
Incubator (if needed)
- Stable temperature (~37.2–37.5°C typical)
- Adequate humidity and ventilation
- Regular turning until the last days
- Stop turning before hatch
To avoid missing expected hatch dates, use the incubation calculator: enter the incubation start date and get the hatch window.
5. Hatching and first days
The chick breaks the shell with the egg tooth and may take several hours. Do not force exit: intervene only if you are experienced and there is a clear risk of “shrink-wrapping” or dehydration, after assessing humidity and timing.
- Leave empty shells until the hen moves or discards them.
- Offer fresh soft food right away (see the soft food guide) and clean water.
- Reduce disturbance: brief visits, soft light, no unnecessary handling.
- Ring chicks around day 5–7, when the ring still fits and will not fall off.
After hatch, you can also follow weaning and growth stages with the chick calculator.
6. Common problems: clear eggs and embryo death
| Problem | Frequent causes | What to do |
|---|---|---|
| All clear eggs | Infertile cock / no mating, stress, age, disease | Check song and behaviour; change cock or rest the pair; assess health |
| Early embryo death | Cold, handling, deficiencies, infections, high COI | Stabilise environment; review diet; check hygiene; plan genetics |
| Late incubation death | Wrong humidity, shell too hard/thin, disturbance | Check humidity and calcium; avoid constant nest opening |
| Broken / eaten eggs | Calcium deficiency, stress, unstable nest, curiosity | Cuttlebone, quiet, stable nest; consider temporary removal |
| Egg binding | Low calcium, young hen, large egg | Emergency: moist heat + calcium; if it does not pass → vet |
For systemic symptoms (diarrhoea, apathy, difficult breathing) also see the disease guide.
7. Plan fertility and timing with GenHub
Fertile eggs depend on a healthy pair and a sensible match. With GenHub you can estimate phenotypes before pairing and keep incubation dates under control.
Try GenHub free tools
Simulate genetic pairings and calculate inbreeding, then sign up to unlock the full breeding software.
8. Eggs and incubation checklist
- ☐ Note the date of each egg and incubation start
- ☐ Candle on day 6–7 and remove clear eggs
- ☐ Calculate expected hatch with the incubation calculator
- ☐ Prepare fresh soft food before hatch
- ☐ Reduce disturbance in the last 2–3 days of incubation
- ☐ Check calcium (cuttlebone) and always-clean water
- ☐ Record births and pedigree in GenHub
Also read: Pairing · Soft food · Feeding · Genetics · Diseases · Breeds · Incubation · Chicks
Questions about incubation? Contact us for personalised advice.
Content created with AI support and human editorial review.